Recipes & Ideas
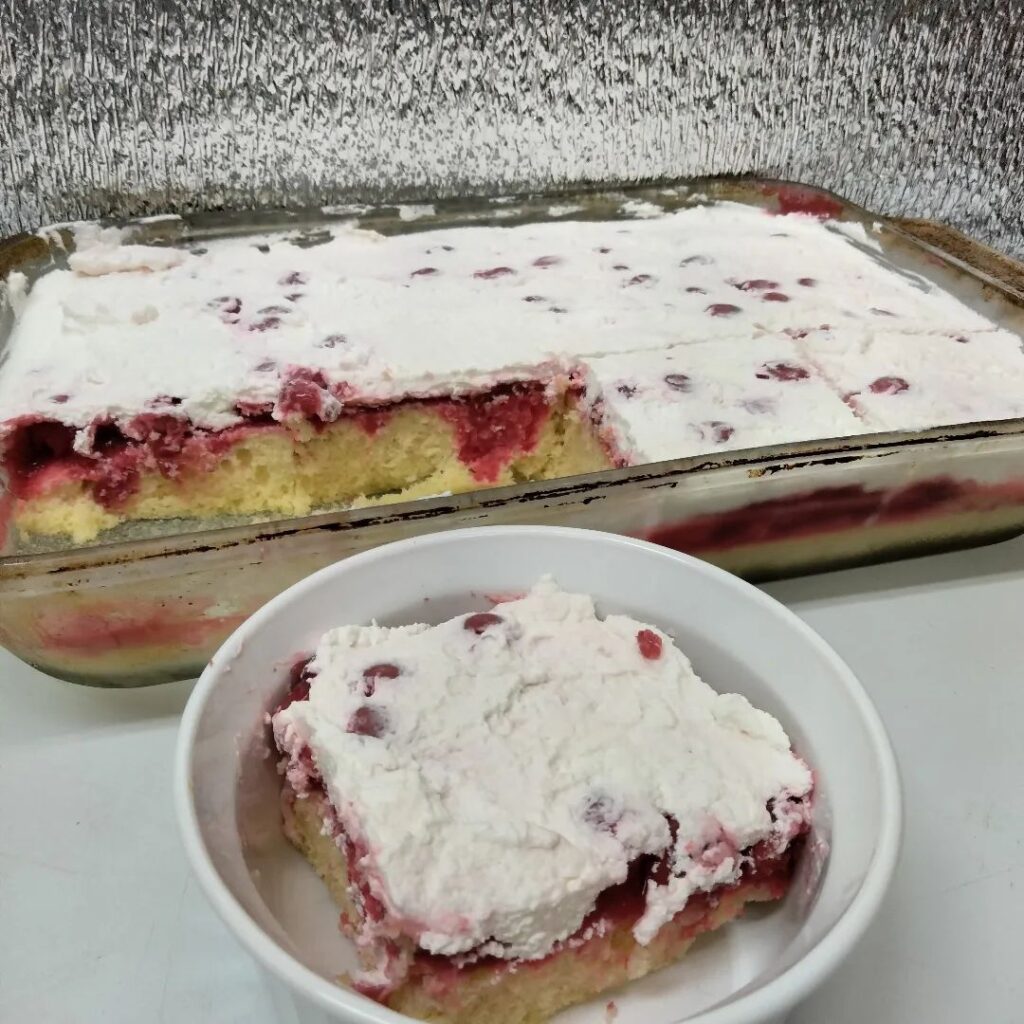
Cherries & Cream Poke Cake! This is an easy recipe. 1 box of zero-sugar yellow cake mix, 1 can of no-sugar cherry pie filling, 1 box of sugar-free cherry jello mix & 1 container of zero-sugar cool whip (unless you like to make your batch from scratch as I do) Prepare your cake mix according to the box. Use a fork to poke holes into your cake after you’ve baked it and let it cool. Prepare the jello mixture as you would on the box, then evenly pour the jello over top of the cake evenly. Let that cool in the fridge for about 20-30 minutes. When you bring the cake out, you’ll top it with the cherry pie filling, then top it with your cool whip or homemade whipped cream. This is great for parties, for those that what a sliver of a slice like half of what’s in the picture, is only 115 calories. Honestly, the whole piece is worth the 230 calories!
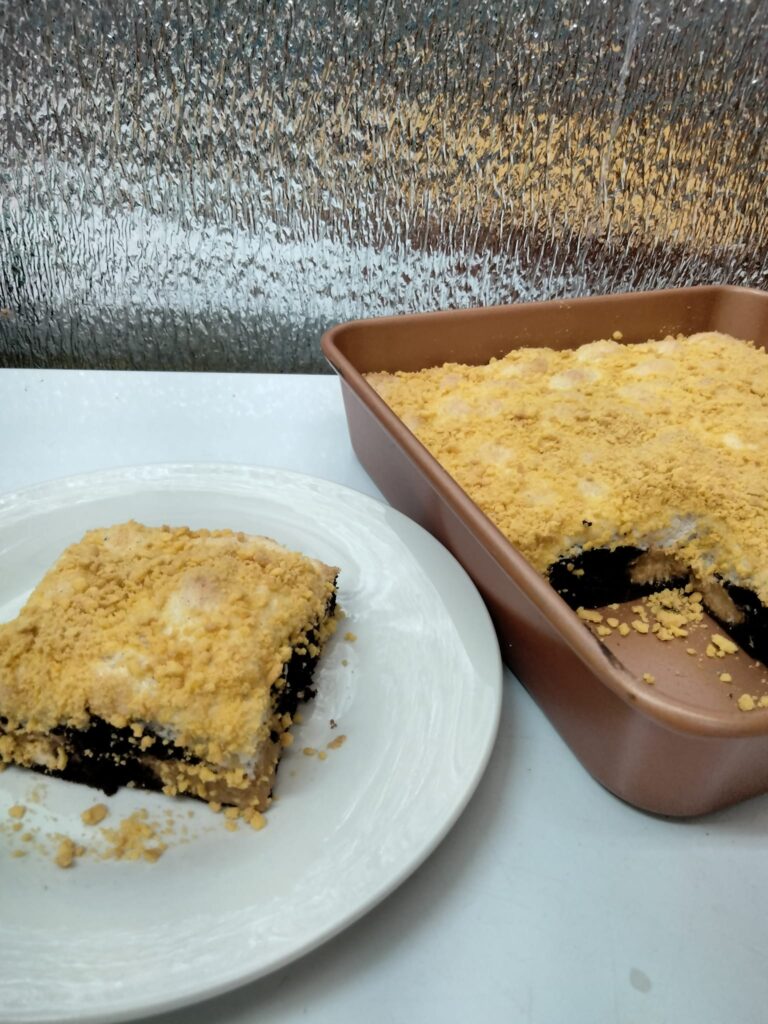
Here is my twist on smores but with pumpkin. You’ll make my small batch of brownies like in the book. Pour the brownie mixture into your greased pan. With 1 cup of pumpkin puree, use a spoon to evenly distribute the pumpkin throughout the mixture. You can use a knife to make the design with the pumpkin swirled in the brownie mix. Bake according to the recipe in the book. Let the brownie cool before you add the meringue mixture to the top. You can use the marshmallow recipe from the book too, or you can make a quick meringue mix using allulose and tartar. Crush a couple of sugar-free shortbread cookies to sprinkle over top of the marshmallow/meringue mixture. If you don’t like pumpkin, you can create these solely smores. Perfect for fall.
These are everyone’s favorite cookies. A box of sugar-free yellow cake mix, a box of sugar-free jello pudding mix, 1/2 egg beaters, 8 tablespoons light margarine, 2 tablespoons fat-free milk. Roll them about a tablespoon size each into allulose. Bake them at 350 degrees, for 10-12 minutes.

Another great favorite soft cookie! 1 box no-sugar cake mix, 1/4 cup egg beaters, 1 container zero-sugar cool whip, and Swerve Powder Sweetener. Combine everything except the Swerve. I let it set in the fridge to be easier to scoop out. You’ll want about a tablespoon each, then drop the mix into your Swerve to fully coat it and place it on your sprayed baking pan. You’ll bake these at 325 degrees for about 12 minutes. You can use these all year round by switching up food coloring.
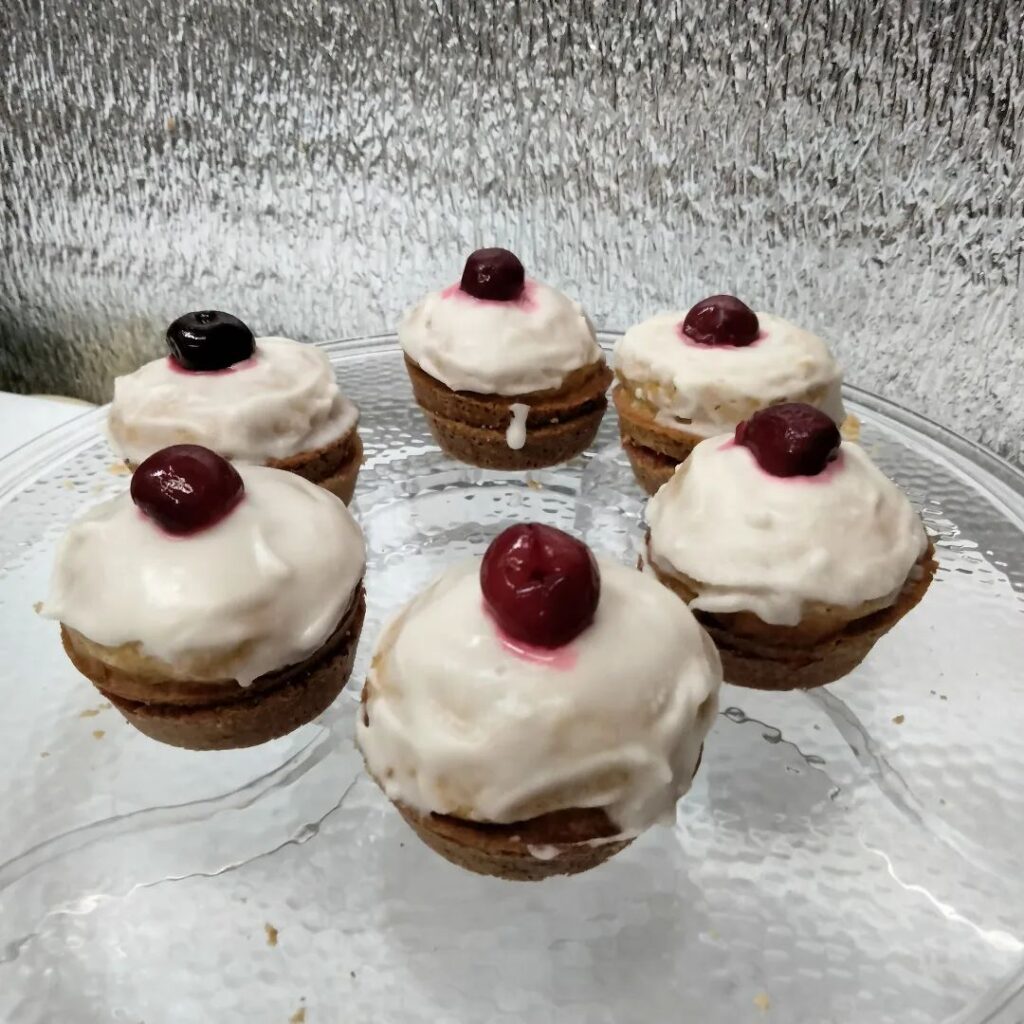
Bakewell cupcakes. You’ll use my vanilla cupcake recipe from the book. Either split these in half or take out a small center portion in the middle. You’ll put the sugar-free strawberry or cherry jam in the portion or in between. You’ll top these with a Swerve Powder Sweetener glaze you make solely with lemon juice. Then top them off with a cherry from the no-sugar cherry pie filling. Sometimes I like to freeze about 7-8 of the cherries before I use the can in another recipe.
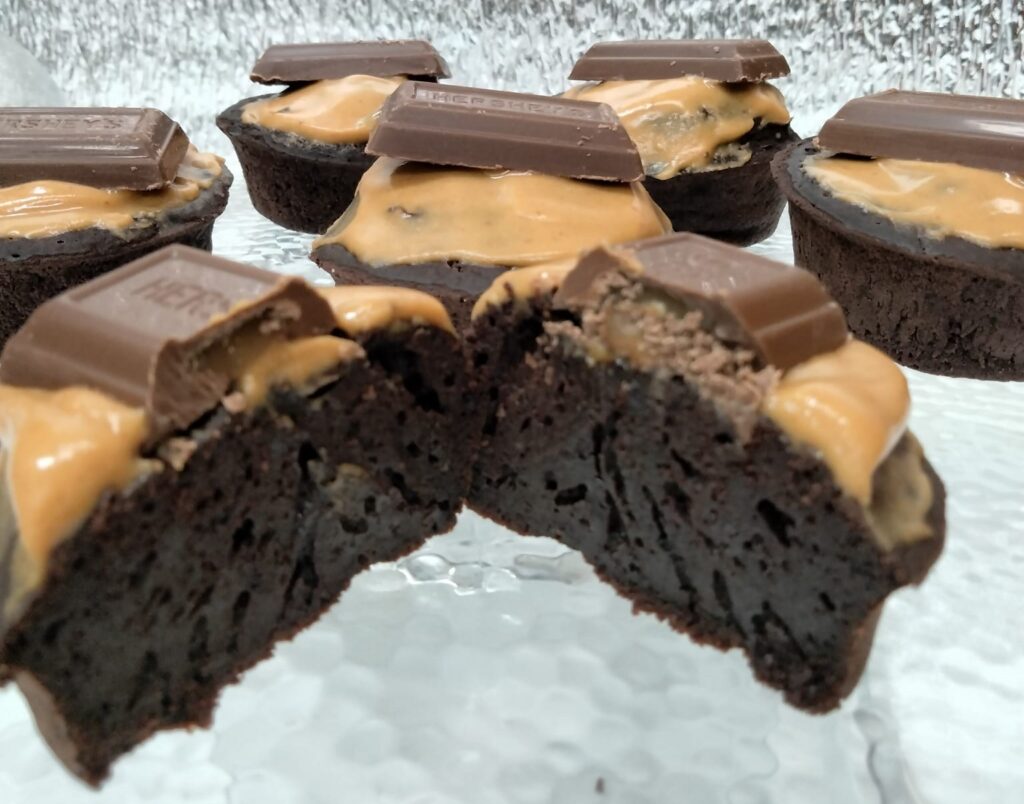
Here is a twist on my small batch of brownies from my book. After baking the brownies & letting them cool, you’ll combine the p-nut powder with water and a tsp or 2 of Swerve Powder Sweetener. Add that to the tops with zero-sugar Hershey caramel mini bars on top of your peanut butter topping. These are perfect if you’re craving a candy bar.
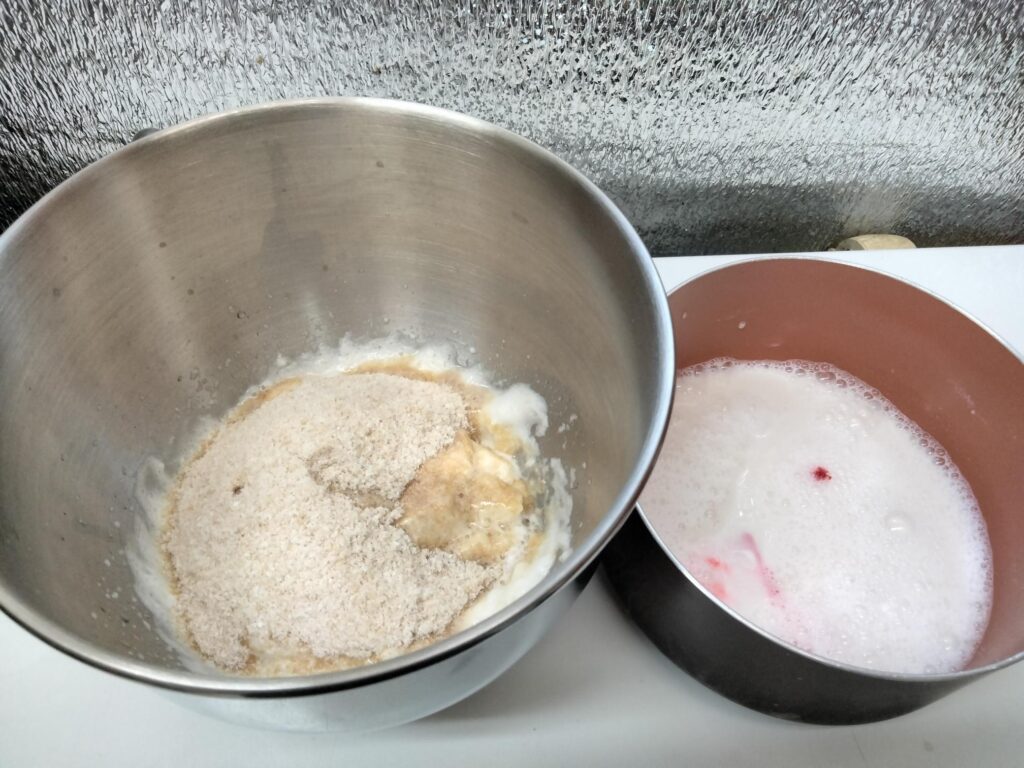
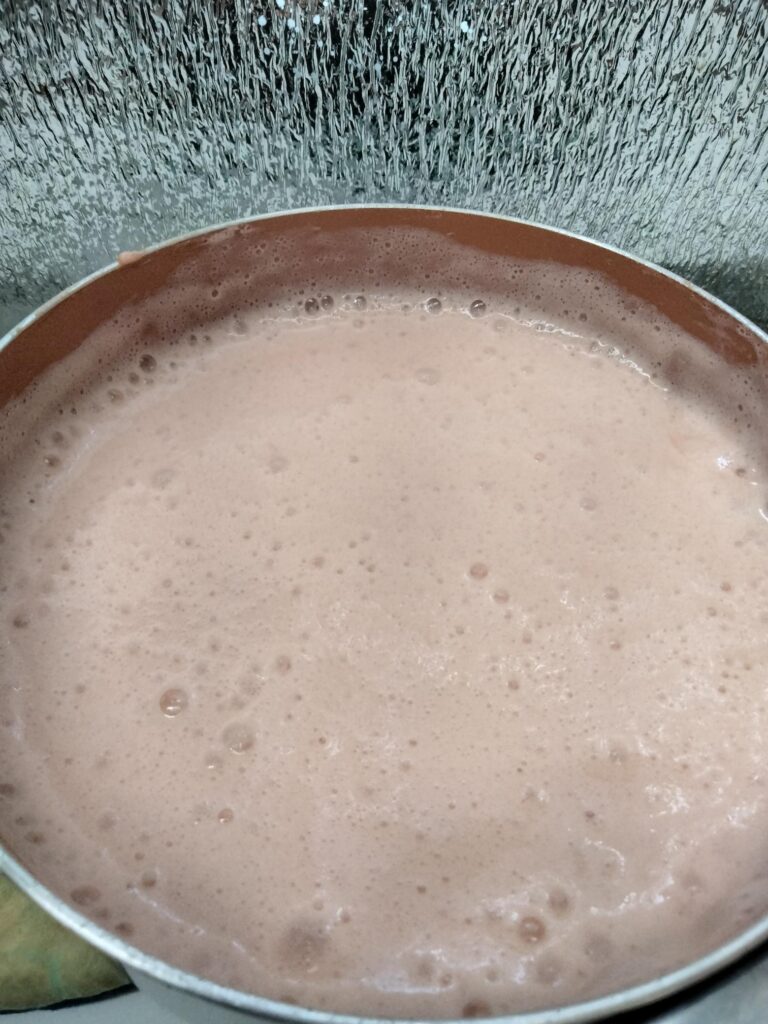
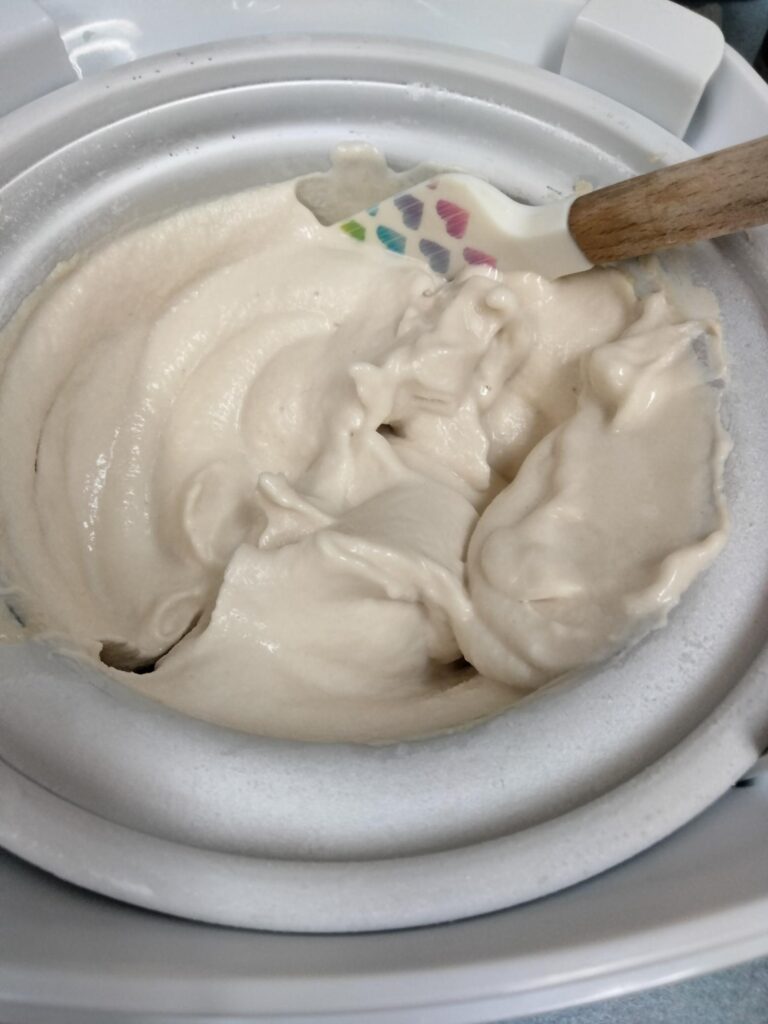

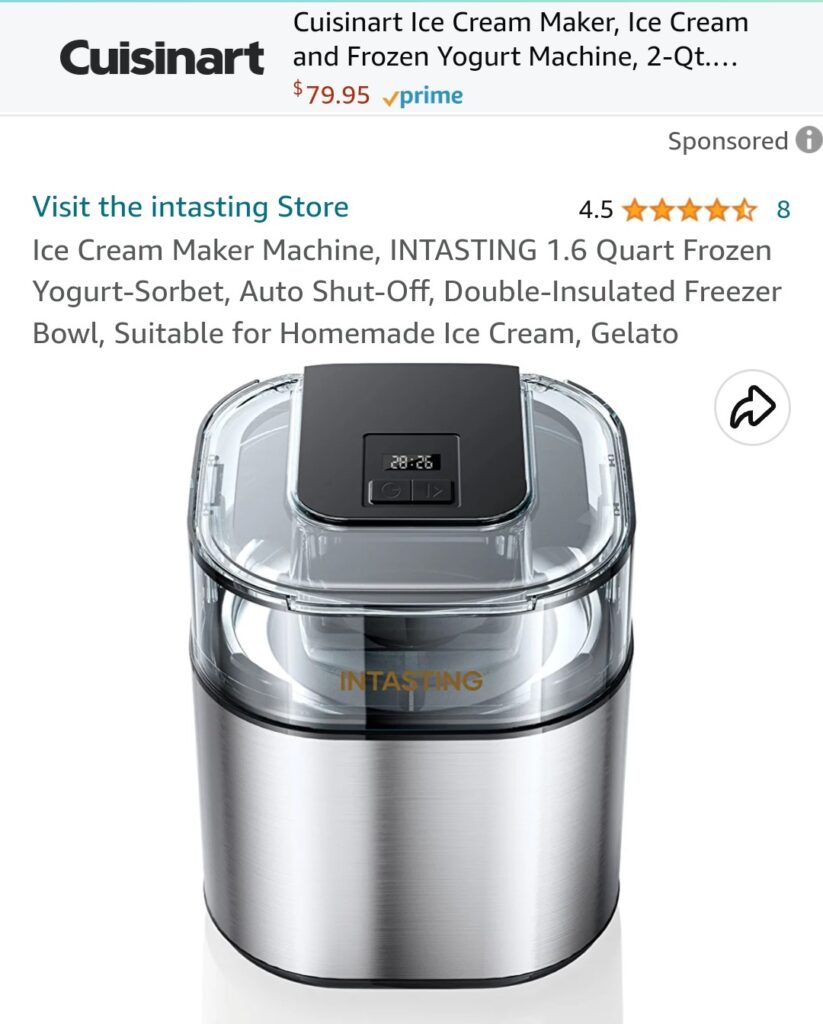
First, you want to whip the first ingredient in the recipe. After that, you’ll add the sweeteners and whisk by hand, then add the 2 key ingredients. After whisking, you’ll add the wet ingredients. From that point, you’ll let the pot come to a boil on medium heat where you get bubbles and the mixture almost doubles in size. I use a whisk and a spatula to continue to mix while the pot is on the stove. Once boiling, remove from heat, whisk, use the spatula, and whisk one last time. Remember, we need to let this set in the fridge, whether you keep it in your pot or place the mixture in another container (hard plastic or glass). If you need to transfer it to another container, remove it from the heat and let it set aside for about 10 minutes before transferring it and placing it in the fridge. Once it has set, whether it’s been 3 hours or overnight, you’ll then transfer it to your ice cream maker. You’ll know it’s set when it has a jello kind of texture. The standard time to churn is 20 minutes, however, with some of the harder flavors like chocolate, you’ll want to add 10-15 more minutes. Transfer to your bowls or containers with lids. Listed below is the size of the ice cream maker I have and it gives you 3 great servings of 1 and a half cups, or 4 1/2 cup servings total (slightly over a quart) if you put it in one container. To keep up with my ideas for after the book, I will continue to add them here and on Instagram. Here are a couple links for the videos of the iced cream!
Time to go over those different ideas for the iced cream recipe! This one is my favorite recipe.
Vanilla: the basic flavor. For this one, you’ll want to add 1-2 teaspoons of vanilla bean paste and double your vanilla extract.
Tiramisu: you’ll cut back to ½ tsp of vanilla extract, add 1 tsp cheesecake extract & 1 tsp rum extract. After complete you’ll lightly sift 1 tsp Nescafe espresso over top followed by 1 tsp unsweetened cocoa powder.
Cake Batter: increase your caramel extract up to ½ tsp, 1 tsp cake batter extract, with 3 tsp no-sugar sprinkles topped over each serving (1 tsp each)
Chocolate mint: cut back half tsp on vanilla, add ½ tsp green food coloring, 1 tsp mint extract, no caramel extract, and 3 zero-sugar Hershey mini bars chopped up and evenly proportioned within the 3 servings each.
French Toast: add 1 1/2 tsp cinnamon ground, 1 tsp vanilla bean paste, and 3 tbs sugar-free maple syrup.
Red Velvet: cut back to ½ tsp for your vanilla extract, increase your caramel extract up to 1 tsp, and add 10 white chocolate chips to the tops of each serving for a total of 30 chips (optional, 51 calories with chips, 34 calories without), and 1 tablespoon of lorann red velvet extract.
Tres Leches: increase your caramel extract up to 1 tsp, 1/4-1/2 tsp cinnamon. After you’ve used your ice cream maker, you’ll want to mix in 1-2 tbs of the homemade caramel sauce recipe found below andhttps://lorannoils.com/ 1 tbs of brown sweetener substitute with each serving (you’ll slightly mix these in) for a total of 6-9 tbs sauce & 3 more tbs brown sweetener. (by adding the 2 tbs or caramel it may take longer for the iced cream to freeze)
Pumpkin Spice: Keep the basic ingredients the same. Add 1/4-1/3 cup of pumpkin puree & 2 tbs brown sweetener in when you’re churning the iced cream. While putting together the basic mixture you’ll want to add 1/2 tsp pumpkin pie spice and 1/2 tsp cinnamon. *This recipe idea is only for those who really really love pumpkin spice.
Homemade Caramel Sauce
This makes 12 tbs servings
- ½ cup brown sweetener substitute
- ¼ cup stevia (the one you measure cup for cup, not concentrated)
- ¼ cup Allulose
- 1 tsp vanilla extract
- 1 tsp caramel extract
- ½ tsp xanthan gum
- 14 tbp (¾ cup & 2 tbs) FatFree Milk
First: you’ll combine your sweeteners in a pot over medium heat. Make sure you use a big pot, you’ll need to when you add the milk at the end. Once your sweetener textures start to melt and get a brown color, you’ll want to add your extracts & xanthan gum. Shortly after you add those, you’ll start to add your milk in a little at a time while constantly mixing. This will fizz up majorly, but make sure you continue to stir. Once you’ve mixed everything, you’ll use a spatula and move it quickly to the container (I prefer glass as the mixture is very hot) you’ll store the sauce in. Keep in mind, this is going to be sticky. If you’re adding this to your iced cream or even your brownies, you’ll want to do this after the sauce has set. It sets in about a day, or is perfect for overnight to use the next morning. Next week I’ll share the idea to make your brownies a caramel-fudgy texture, which is super yummy!
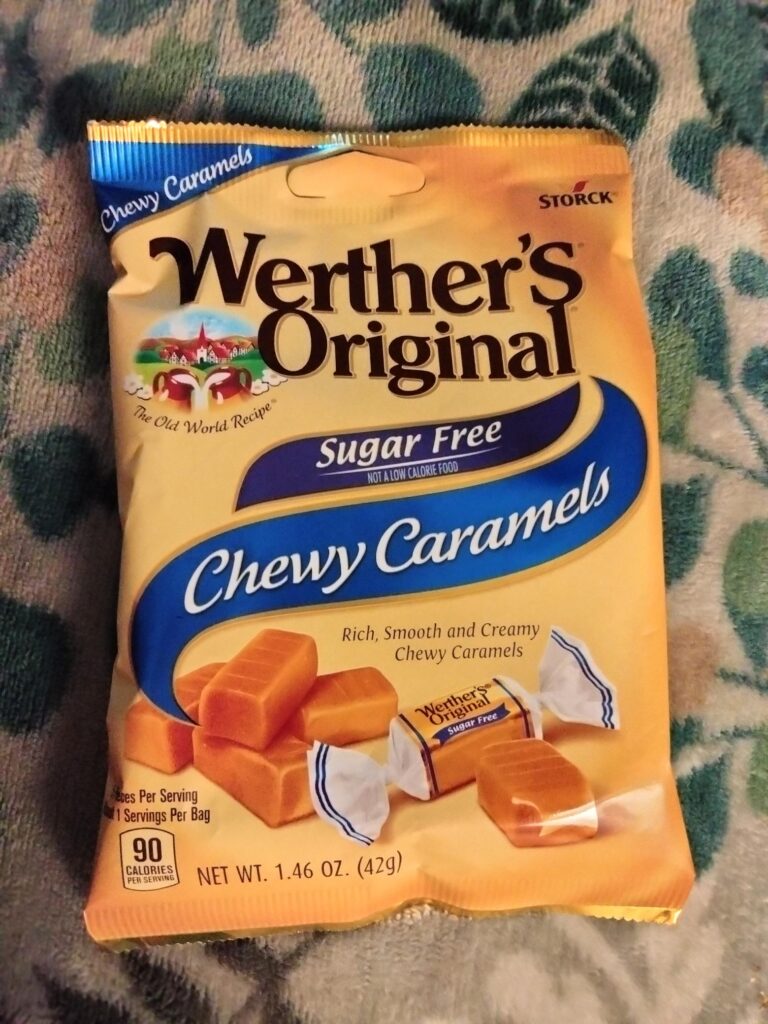
I remember growing up with Werther’s. Their hard candies remind me of my childhood. These little guys are very yummy!
There are 2 different kinds of ways to make the brownies!
The first is a caramel fudgy type. This is where you’ll add 3/4 cup of the caramel sauce from above to your batter. I can stretch the batter to include a total of 8 brownies now. You’ll place half of a soft caramel Werther’s inside each of these. Bake as directed in the book. You’ll want to bring them out and let them cool. After this, you’ll flip every one of them upside down, top evenly with about a tsp to a tsp and a half over each of them. They will be rich!
The second option will need liner cups. I prefer to use my plastic reusable ones. Whether using paper or reusable ones you’ll want to be careful since these are served hot. These are the lava brownies! Check here for a quick video!
You’ll put a tablespoon of brownie mix in the cup, place a tablespoon of the caramel sauce and half of the soft caramel Werther’s followed by 1 more tablespoon of brownie mix. You’ll get a total of 12 lava brownies out of this recipe. You’ll bake them at the same heat and same time as the book instructs. You’ll need to store them in the fridge over the next week (less preservative means they will go bad faster) and warm them up in your microwave for about 15-20 seconds. Use a spoon to dig in. Hope you enjoy both!
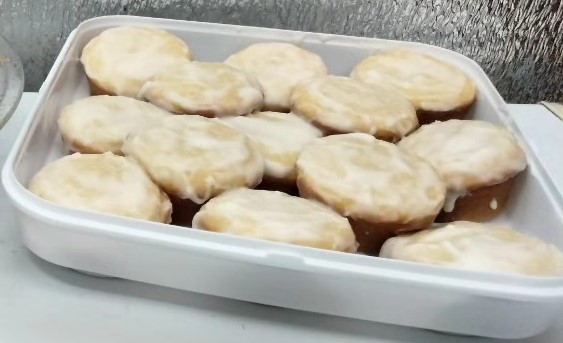
This recipe is based from my blueberry muffins recipe in my book. You’ll want to make the flour half self-rising flour and the other haft all-purpose. You’ll replace the blueberries with lemon zest, about 1/4-1/3 cup, and half of the water with fresh lemon juice. For the glaze, use the glave recipe idea from the Bakewell cupcakes above. These are very moist, soft and full of great flavor for summer.
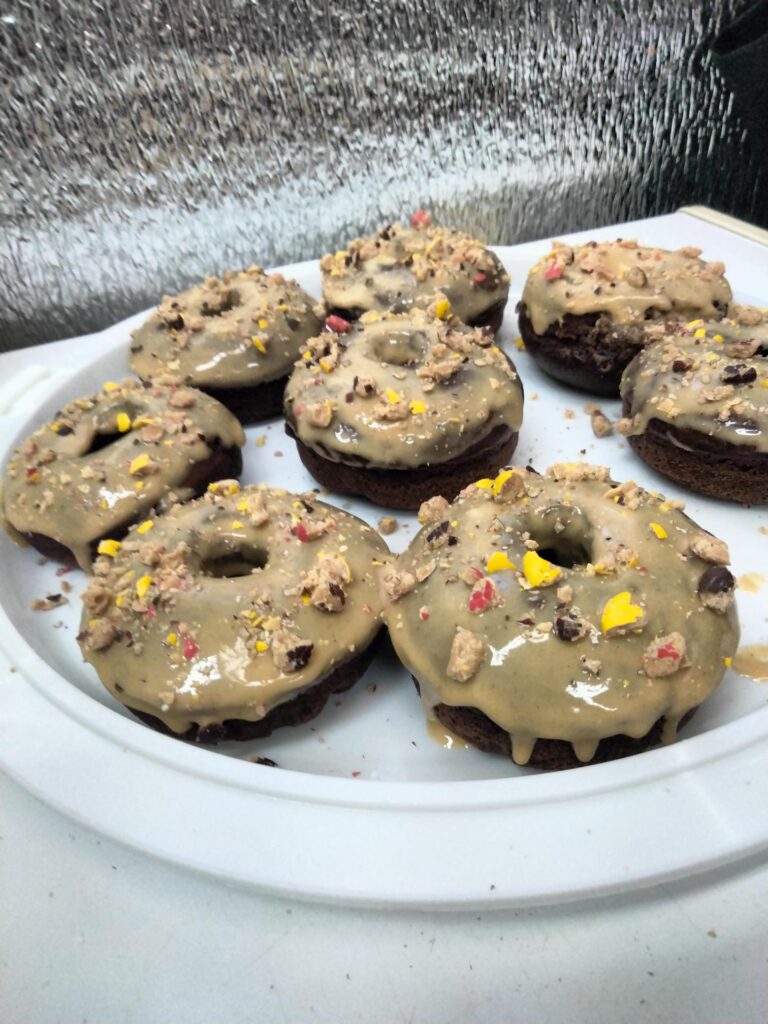
These are great if you are craving chocolate and peanut butter. You want to use the ingredients from the chocolate doughnuts in the cookbook, but use the baking instructions from the previous recipe the strawberry or blueberry doughnuts. I placed the mixture into a pastry bag and evenly put the mixture into the doughnut pan. After they bake are cool off, you’ll mix 2 tbs powder sweetener (swerve or truvia) with 2 tbs peanut powder with 1 tablespoon & 1 tsp of water. I used a crushed bag of Adkins coated peanut candies or you can use crushed unsalted peanuts too to top after you dip the tops of them in the peanut powder glaze we made. Keep in the fridge so they’ll last longer, unless they’ll all be eaten the same day!
Here is a quick and easy pumpkin mug cake that’s perfect for November, or all of Fall.
2 tbs pumpkin puree, 1 tbs melted margarine, 1 tbs eggbeaters, 1/4 tsp cinnamon, 1/2 tsp pumpkin pie spice, 1/2 tsp baking powder, 1/4 tsp baking soda, 1 tbs brown sweetener, 1 tsp allulose, 1/4 tsp vanilla extract, 1/4 tsp caramel extract & 3 tbs cake or all-purpose flour. Mix, then microwave for 90 seconds. This is good alone, with some hot chocolate, or paired up with some vanilla iced cream. You can either have this as a dessert or even for breakfast. Hope you enjoy this one!